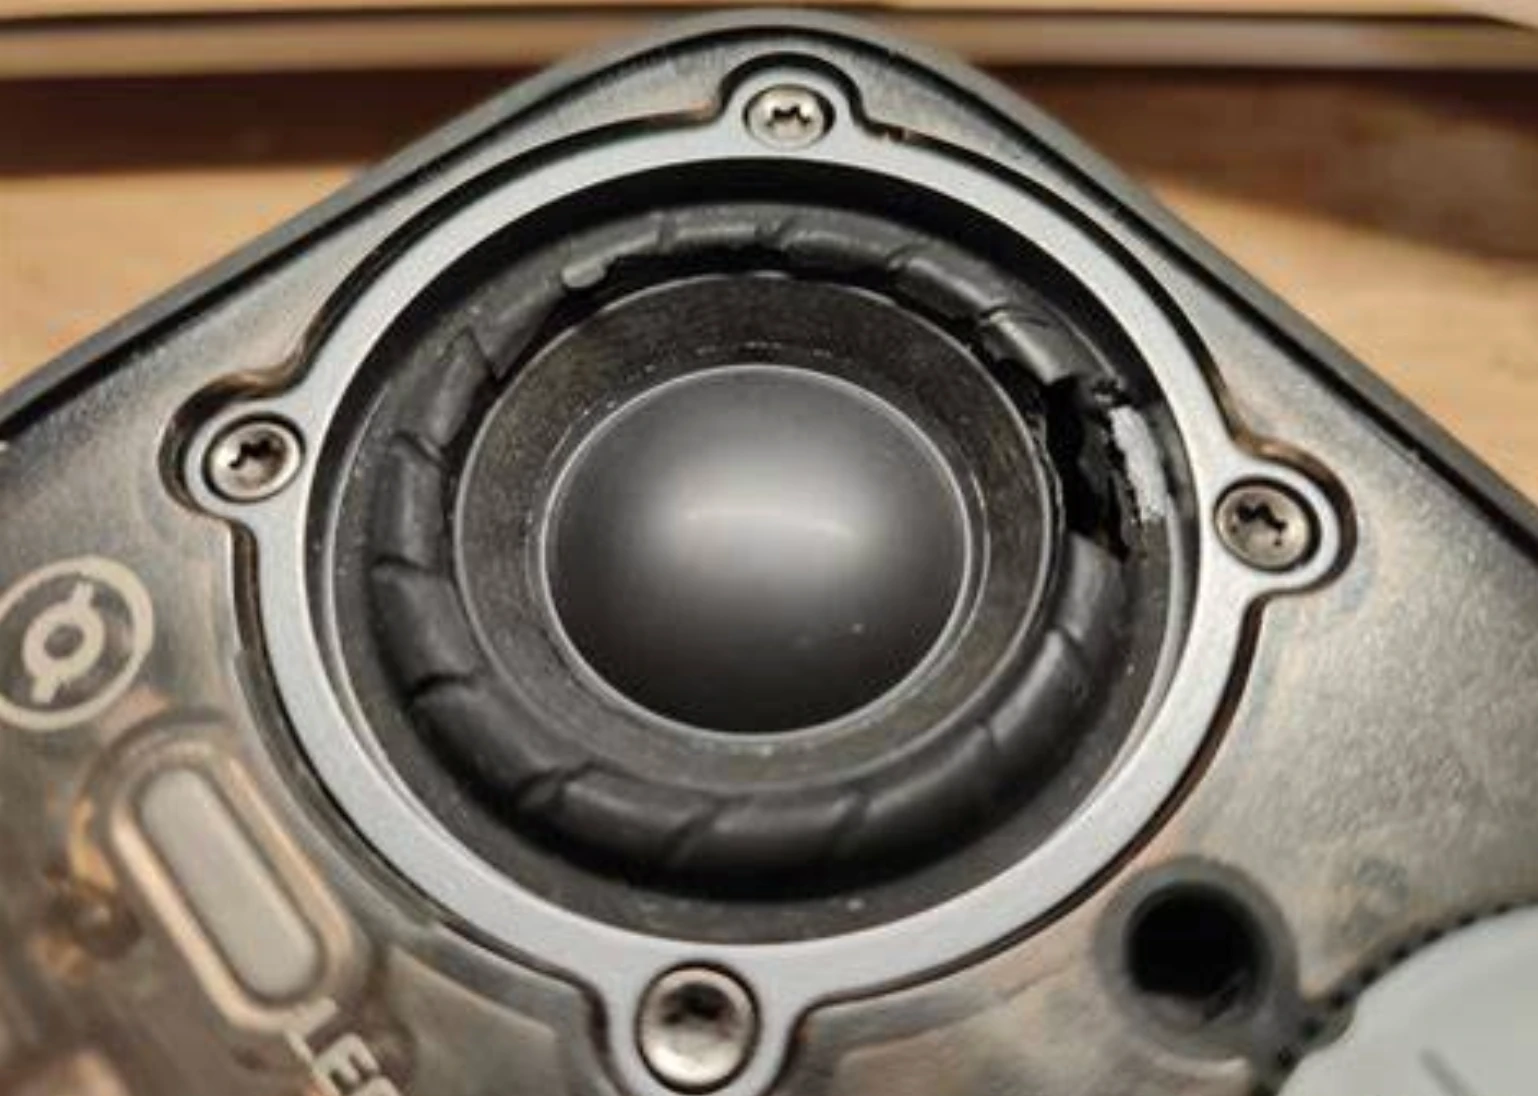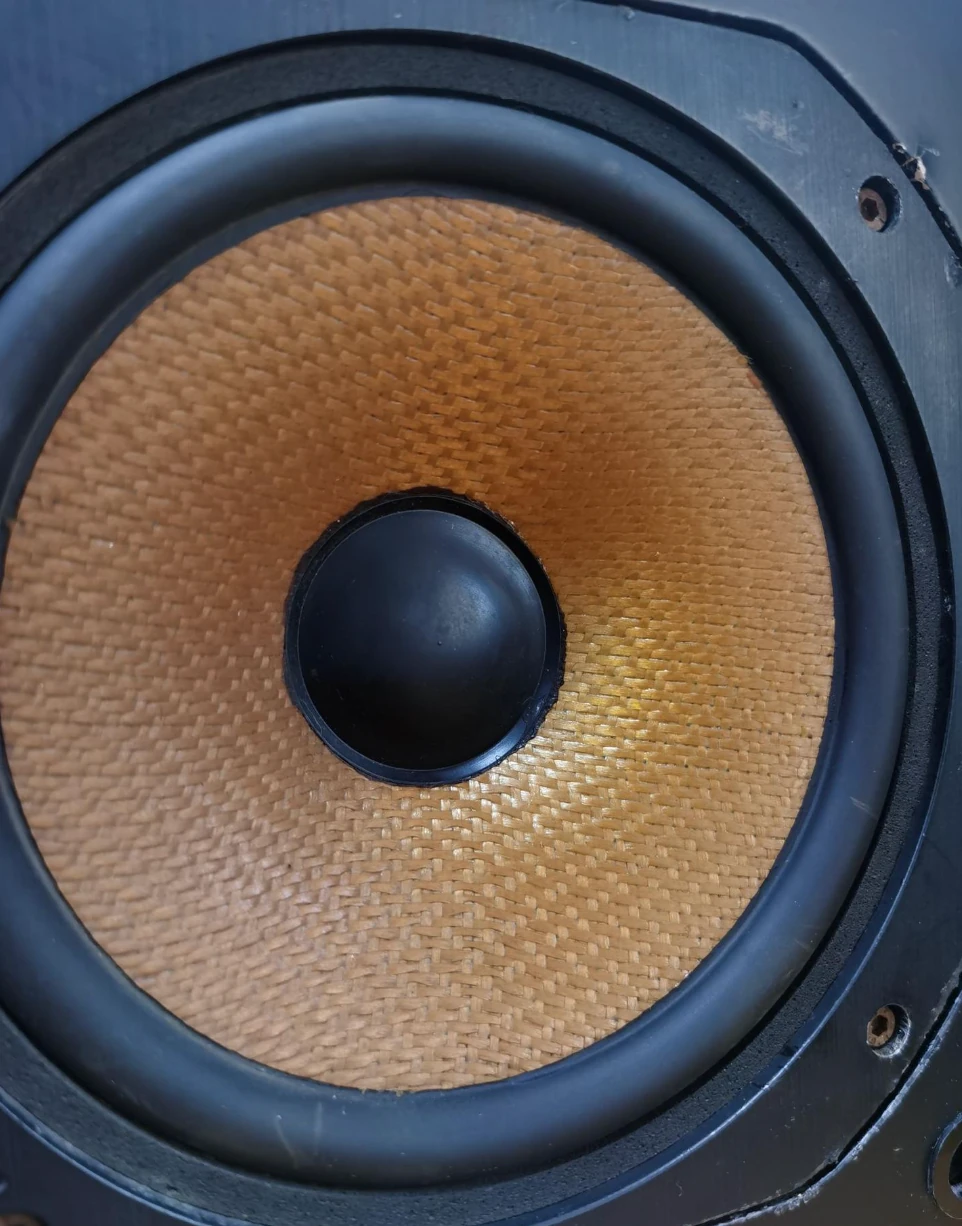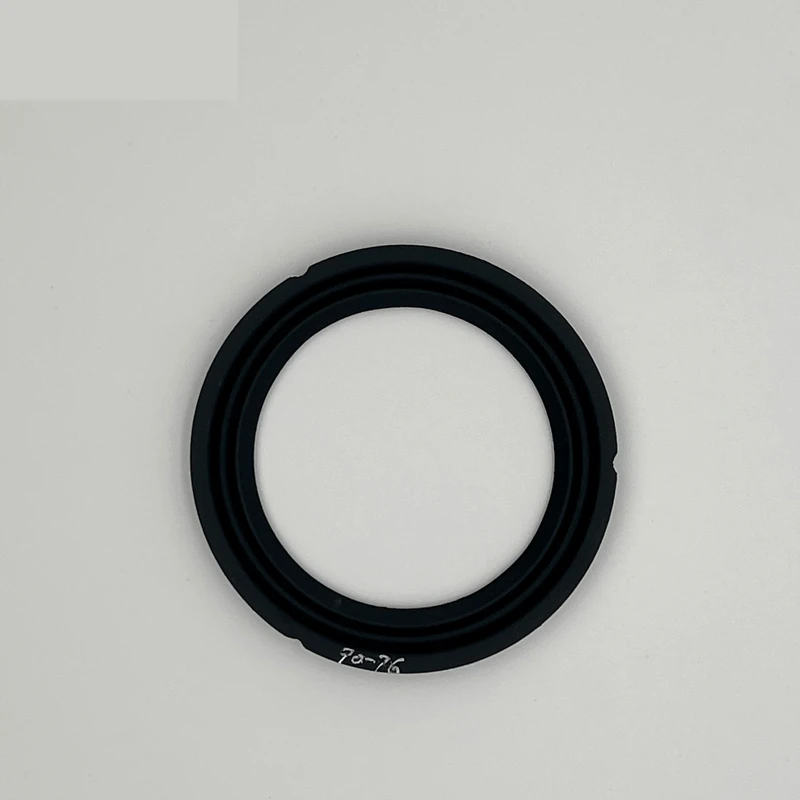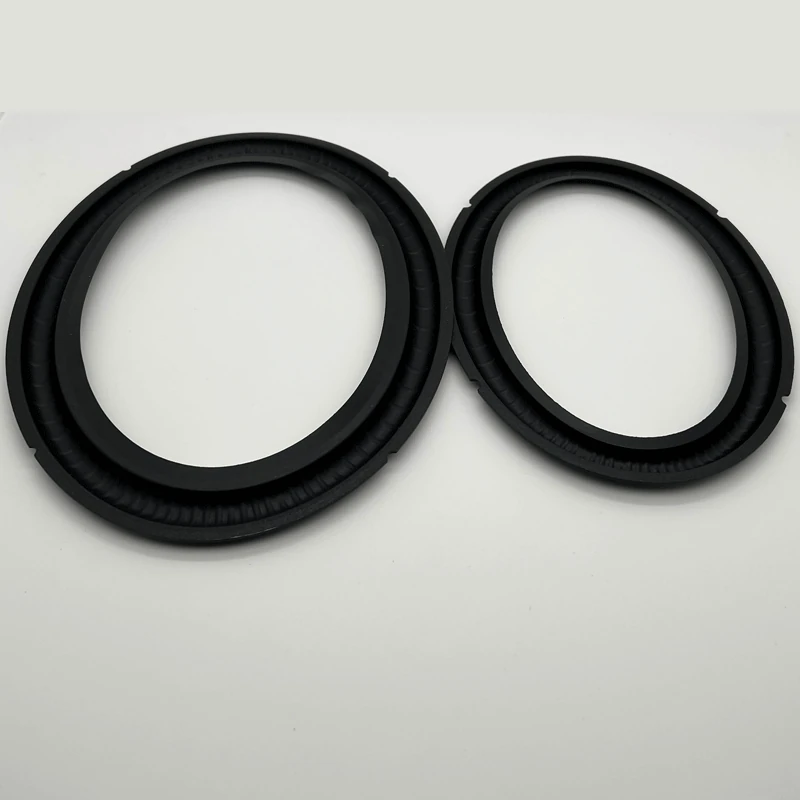
Re-foaming is appropriate when the foam surround is cracked, soft, sticky or crumbling, while the cone still moves smoothly and the voice coil does not scrape. It will not repair a burnt or rubbing voice coil, damaged cone, loose spider, broken lead or amplifier fault.
The work is mechanically simple but alignment-sensitive. The replacement must match the cone glue diameter, frame landing, roll width, roll orientation and intended compliance. Adhesive and cure instructions vary by kit and cone material, so follow the adhesive supplier's instructions instead of assuming one cure time or solvent is safe for every driver.
First, be honest about what died
Not every buzzing speaker needs a re-foam. Press gently around the surround with a clean finger. If it is cracked, gummy, or crumbling, that is the surround and you are in the right place. If the surround looks fine but the speaker rasps at all volumes, the voice coil may be rubbing, and no amount of new foam will fix that. Push the cone straight down with two fingers, evenly, an inch or so. It should move smoothly and silently. Scraping means deeper trouble. Silence means: get a kit.
The kit, and the one measurement that matters
You want a surround that matches your cone, not your speaker's badge. The number that counts is the cone's outer diameter — measure across the cone from where the old foam meets it on one side to the other. A "10-inch woofer" is a marketing size; the actual cone might be 8.5 inches, and that is the figure the new surround has to hug. Buy a kit with foam that matches, plus the little bottle of adhesive it comes with. Get one with a smell you can tolerate, because you will be close to it for a while.
Material is not an automatic upgrade decision. Matching the original foam is usually the lowest-risk way to preserve the driver's intended compliance. Rubber may improve ageing resistance in a suitable design, but its mass, stiffness and roll profile can change the response. Review the conditions in rubber vs foam surrounds before changing material.
Peeling off the past
Work the old surround off the frame and cone with a plastic tool that will not cut the cone. Remove loose foam and adhesive without soaking or scraping through paper, coating or thin composite material. Do not assume acetone or another solvent is safe: test compatibility or follow the kit instructions. The cone glue land and frame landing need to be clean, continuous and undamaged.
Glue, and the moment your heart rate spikes
Apply the adhesive quantity and open time specified for the kit, then seat the inner lip evenly around the cone. Check that the roll is not stretched, twisted or offset before the joint grabs. Allow the inner joint to reach the stated handling strength before fixing the outer edge.
Fix the outer lip while keeping the cone centered. Gently move the cone through a small, even stroke and listen for rubbing. Some drivers can be centered by controlled movement or a low-level test signal; others require access to the voice-coil gap and proper shims. Do not force a scraping cone sideways or use improvised shims without understanding the dust-cap and gap construction. Let the adhesive cure for the manufacturer's stated time before applying normal power.
Test at low level before returning to service
After full cure, inspect both glue joints and move the cone gently to check for rubbing. Start with a low-level signal and listen for air leaks, buzzes or asymmetric movement before increasing power. A remaining fault may come from the coil, spider, cone, cabinet seal or another component rather than the new surround.
For one repair, use the measurements and kit guidance above. Repair shops or distributors sourcing replacement parts in volume can compare existing surround families. If no profile matches, a drawing, old part and mating driver can start a custom tooling review.
FAQ
How do I know if my woofer needs re-foaming and not something worse?
Press the surround: crumbling or cracked foam means re-foam. Then push the cone straight down evenly — smooth and silent is good, a scraping sound means the voice coil is rubbing and new foam alone won't fix it.
How do I pick the right size surround?
Measure the cone's outer diameter, not the nominal speaker size. A "10-inch" woofer might have an 8.5-inch cone, and that is the figure the surround's inner edge has to match. Roll width and orientation should match the original too.
Should I re-foam with foam again, or switch to rubber?
Matching the original foam is usually the lowest-risk way to preserve the intended compliance. Rubber may suit some designs and environments, but material, mass, stiffness and profile must all be considered before changing the original construction.
What is the most common mistake?
Ordering by nominal speaker size instead of the glue diameters and roll profile, followed by locking the outer edge before the cone is correctly centered. Use the adhesive quantity and cure time specified by the kit.