A buzz is not a diagnosis. That is the thing nobody tells you before you start googling "speaker repair." My neighbour's bookshelf pair started rattling on anything with bass, and his first move was to order a re-foam kit — because that is what the internet told him to do. It sat in a drawer for three weeks, because his surrounds were fine. The rattle was a torn spider lead flapping against the basket. Different problem, different fix, wasted money and a wait for shipping.
I have now diagnosed enough dying speakers, mine and other people's, to have a routine. It takes five minutes, needs no tools beyond your hands and ears, and tells you which of four things actually failed: the surround, the voice coil, a joint or lead, or the driver itself. Do this before you buy anything.
Test one: the finger press
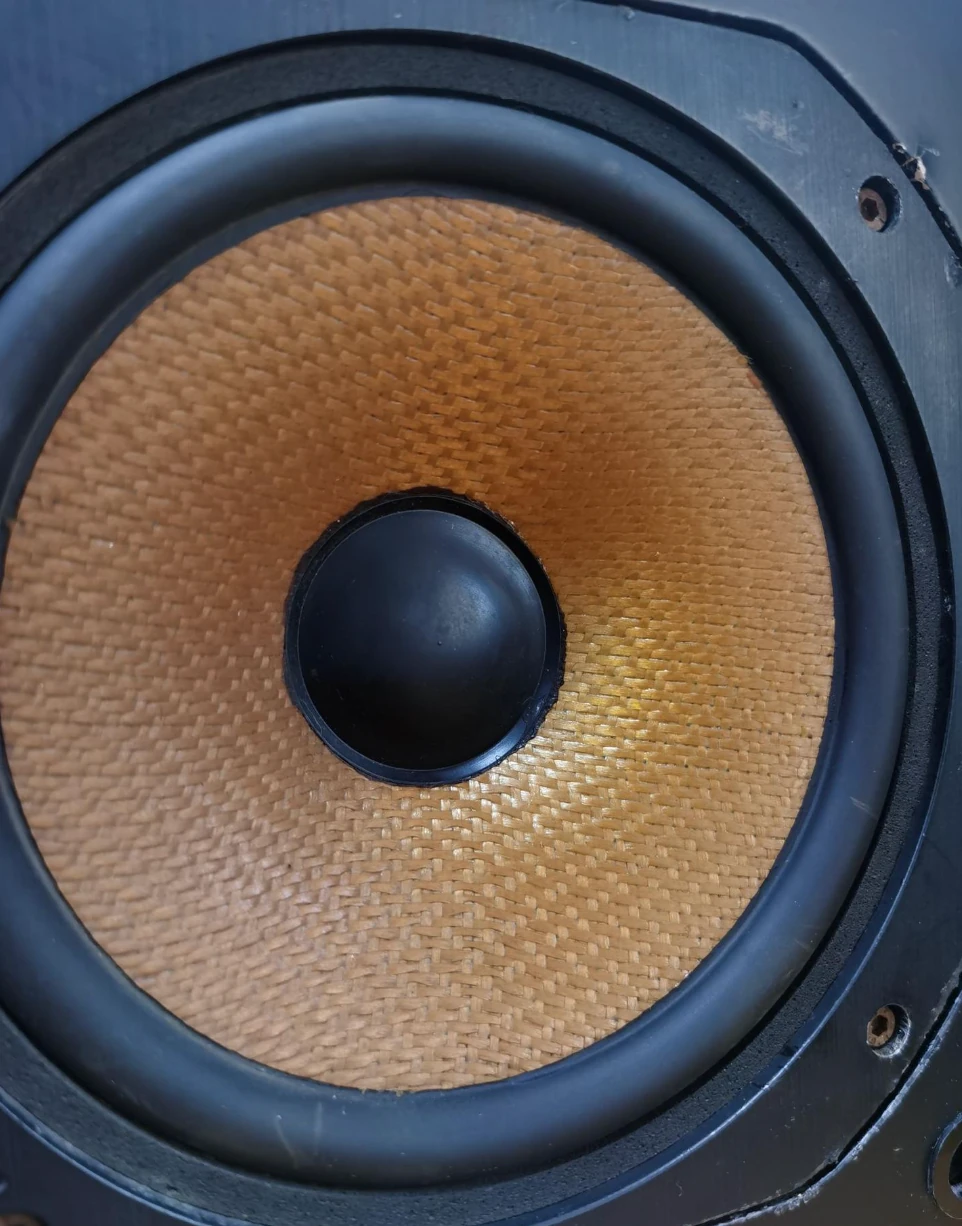
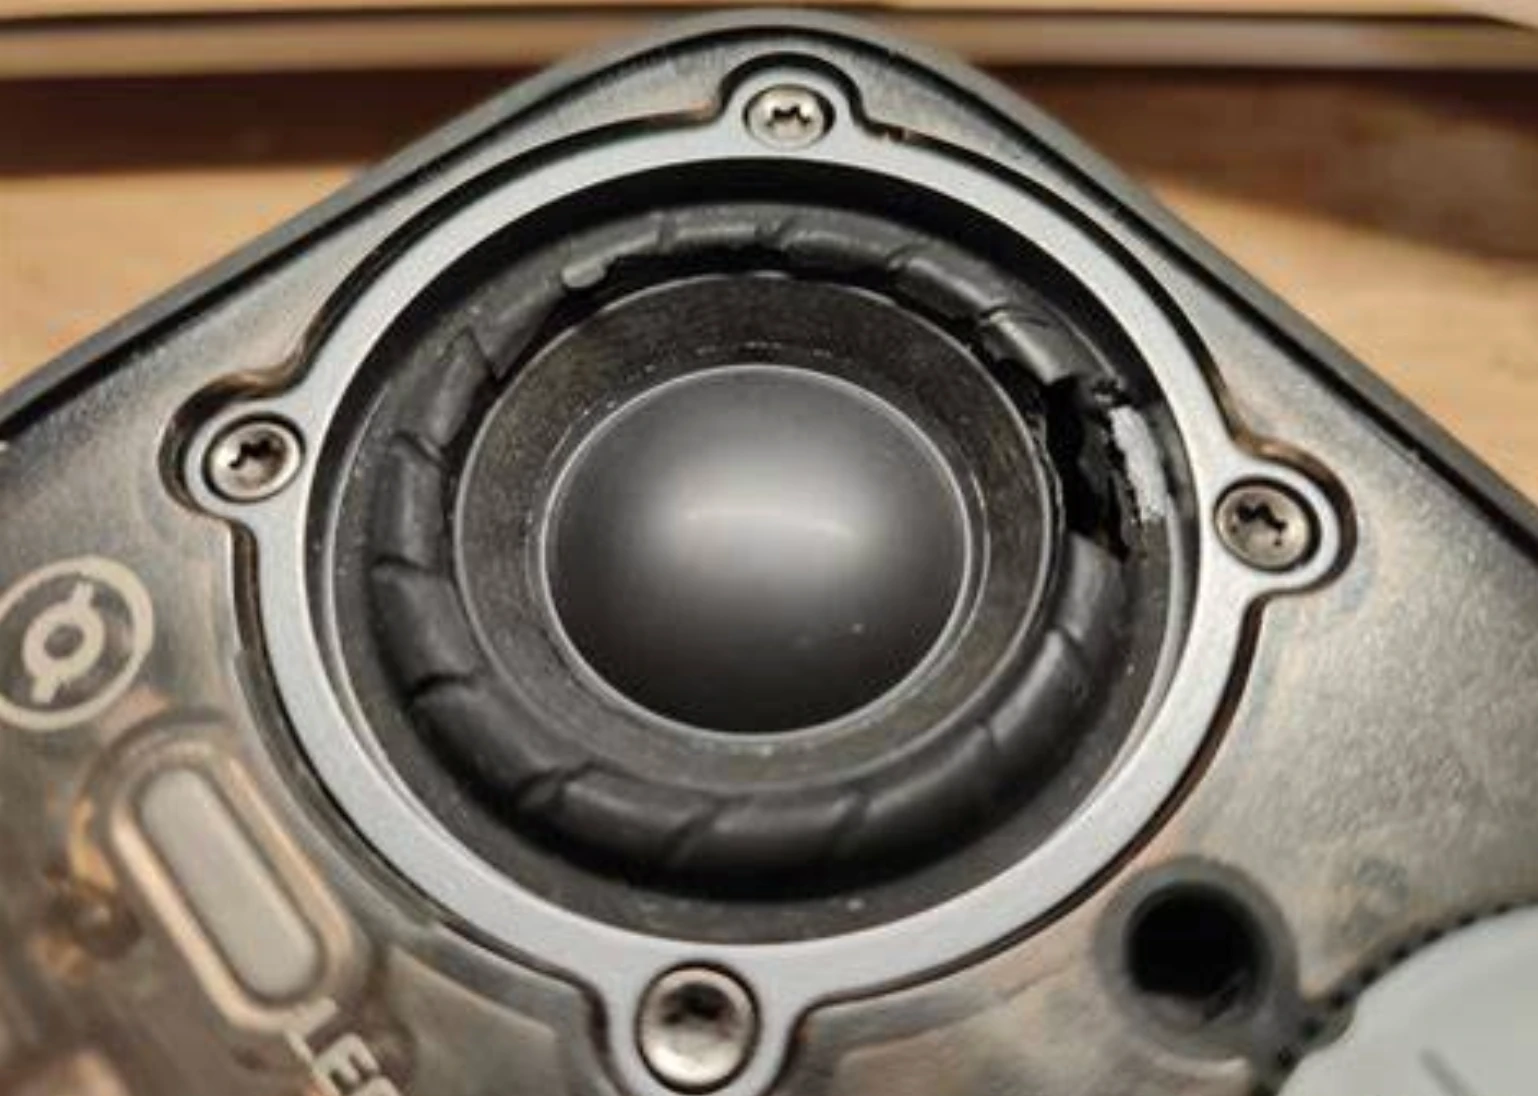
Press a clean finger gently into the surround — the ring of material between the cone and the metal basket — all the way around its circumference. You are feeling for texture, not pushing hard. A healthy surround gives slightly and springs back. A dying one tells on itself: foam gone soft and crumbly, leaving grey dust on your fingertip, or rubber gone stiff and cracked like old leather. Find a visible tear or a section actually separated from the cone or the basket, and you have your answer — the cheapest, easiest failure on this list to fix.
Test two: the even cone push
This is the one that actually separates a surround problem from a coil problem, and most people skip it. With the speaker disconnected, place your fingers evenly around the dust cap or cone edge and push straight down, slowly, an inch or so, then let it rise back. A clean mechanical path sounds like nothing — smooth, silent travel. A scraping, gritty, or rubbing sound means the voice coil former is contacting the magnet gap somewhere around its circumference. That is not a surround problem, and a new surround glued onto a rubbing coil will still buzz.
A rubbing coil usually comes from one of two places: the surround has sagged or torn badly enough that it stopped centring the cone, or the coil former has warped, often from past overpowering or heat. If the surround looks healthy in test one but you still get scrape, suspect the coil or a knocked-loose spider — the fabric ring that centres the cone from underneath, out of sight.
Test three: look at what you can't feel
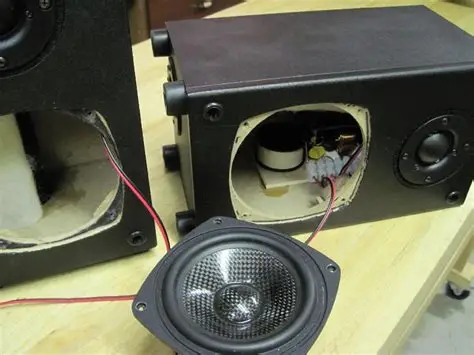
Take the grille off and look, from an angle, with a light. Check where the surround meets the basket and where it meets the cone for any partial lift — old adhesive sometimes fails on one side only, giving intermittent buzz depending on the note. Then check the two thin lead wires running from the terminal cup to the cone, usually a small braided pigtail. These flex every time the cone moves, and after years they crack and start slapping against the cone or basket — a buzz that sounds exactly like a bad surround but is really a two-dollar problem hiding in plain sight. Wiggle a lead gently while watching for a crack in the insulation or movement independent of the cone.
Test four: the smell test
If the fault showed up right after the speaker was pushed hard — a party, a clipping amp, someone's phone at full volume through it — smell the voice coil area before doing anything else. A burnt, acrid "hot electronics" smell means the coil's insulation has scorched from excess current. That is usually terminal, no amount of surround work fixes it, and it becomes a call between a coil rewind, a full driver swap, or letting that speaker go. This is the one case here where the honest answer is not a weekend project.
What the four tests tell you
| What you find | Likely cause | Verdict |
|---|---|---|
| Crumbly, cracked or torn ring around the cone | Rotted or blown surround | Cheap fix — re-foam or replace the surround |
| Surround looks fine, cone scrapes when pushed | Rubbing voice coil / off-centre cone / bad spider | Needs centring or spider work, not just a new surround |
| Loose or cracked lead wire, or a lifted glue joint | Detached lead or joint failure | Cheap fix — re-glue or re-tack the lead |
| Burnt smell near the coil after clipping/overload | Fried voice coil | Coil rewind or driver replacement — surround is not the issue |
Notice the pattern: two of these four are cheap, satisfying weekend fixes, and two are not. Running all four tests, in order, costs nothing and stops you throwing a surround kit at a coil problem — or worse, gluing a new surround onto a driver already dying underneath it.
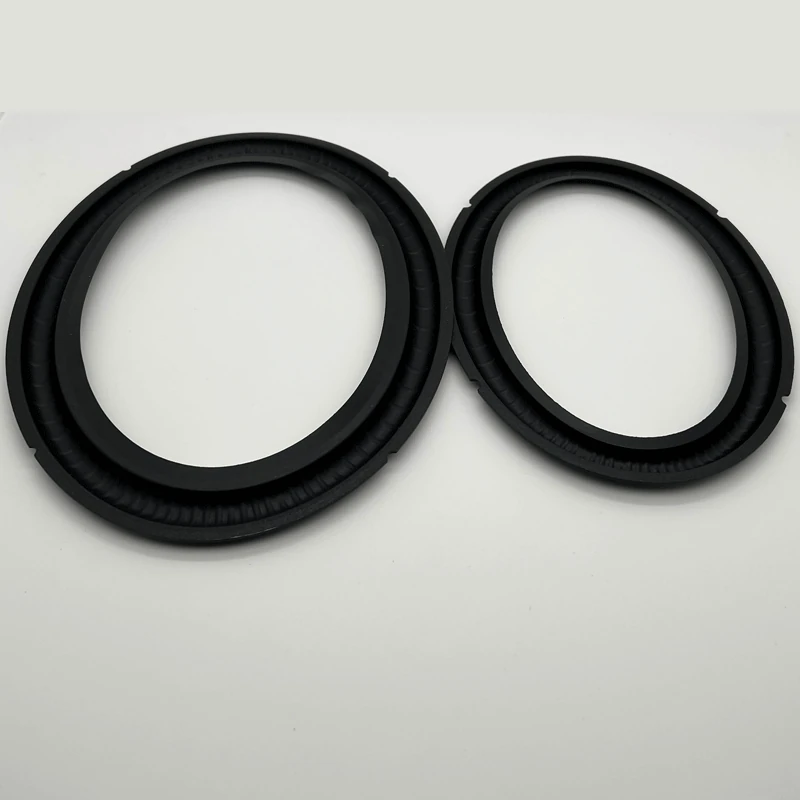
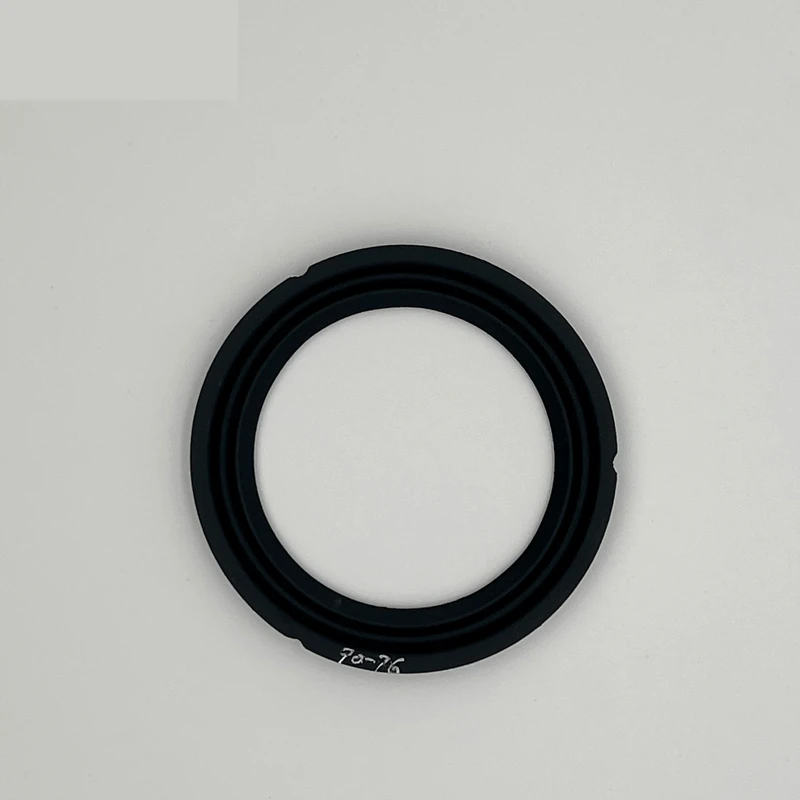
If your speaker passes tests two through four clean and it really is just the surround, you're in the best position possible — go read our re-foaming a woofer at home guide for the repair, and use our replacement surround size guide to get the measurement right before you buy a kit. Would rather skip the kit-matching guesswork entirely? Factory-made rubber and foam surrounds cut to your cone's real diameter are exactly what our surrounds range is for.
FAQ
My speaker buzzes but the surround looks perfectly fine. What else could it be?
Run the even cone-push test: push the cone straight down and listen for scraping. A scrape with a healthy-looking surround usually points to a rubbing voice coil or a loose spider, not something a new surround will fix. Also check the lead wires for cracks — a flapping lead sounds a lot like a bad surround.
How can I tell a rotted surround from a torn one?
Rot shows up as crumbling, dusty foam or stiff, cracked rubber that flakes when you press it — age and material breakdown. A tear is a clean or ragged split, often from an impact or overpowering, sometimes with a visible gap. Both point to the same fix: replace the surround.
I smell something burnt near the speaker terminals. Is that fixable at home?
A scorched smell usually means the voice coil's insulation has overheated, most often from clipping an underpowered amp or just pushing too much volume. That is not a surround problem, and it is generally not a weekend DIY fix — you are looking at a coil rewind or driver replacement.
Do I need any tools to run these tests?
No — your fingers, ears and nose are enough. Disconnect the speaker first so you are not accidentally driving a shorted or damaged coil while testing, then work through the finger press, the even cone push, a visual check of the leads and joints, and the smell test, in that order.